1. Power On and Charging
Wiring and Power On
It is necessary to plug in the microphone and speaker respectively, and a screen can be optionally inserted. Use a Type-C data cable to connect to the device's Type-C port, long-press the power switch until the red light is on or the screen lights up to power on. And it will broadcast a welcome message:
- Network not configured:
- Broadcast:
"I am your artificial intelligence voice assistant. Please say to me,nǐ hǎo xiǎo ān, start network configuration"
- Broadcast:
- Network configured:
- Broadcast:
"I am your artificial intelligence voice assistant. Please say to me,nǐ hǎo xiǎo ān, wake me up"
- Broadcast:
⚠️
After remote firmware upgrade OTA, it will not start automatically. Please manually long-press the power switch to start. If the battery has been inserted, after the Type-C data cable is connected, the charging indicator light turns blue when charging, and turns off when fully charged. If the charging indicator light is flashing, it means no battery inserted.
2. Network Configuration and Reconfiguration
▫️Network Configuration
The device needs to configure network connection (and WiFi connection) for the first time. Steps for network configuration:
- Speak to the device: "Hello Xiao An"
- Wait for the reply: "wo zai"
- Speak to the device: "Start network configuration"
- Device replies: "Entering network configuration mode, please use the Ai-Thinker mini program or App for network configuration"
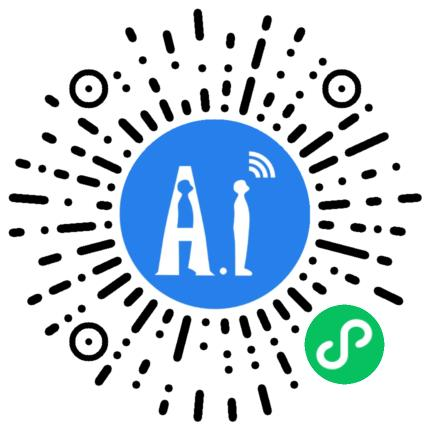
- Scan the QR code on the right with WeChat to open the "Ai-Thinker IOT WeChat mini program"
- Select "AI Hardware Agent"
- Click "Add Device"
- Click "Scan Device"
- Find "BL618_HS_V1.0_XXXXXXXXXXXX" and connect
- Fill in the WiFi name in the "SSID" column (Note: The WiFi name does not have a 5G suffix)
- Fill in the WiFi password in the "Password" column
- After filling in, click "Configure WiFi" below
- Device replies: "Connecting to the network"
- Wait for the device to reply: "Network connected successfully" and that's it
- If there is no response for a long time or it prompts "Network connection failed", please repeat the above steps
- After successful network configuration, please return to the "AI Hardware Agent" page for device management

Reconfigure Network
After powering on, use the voice command: "nǐ hǎo xiǎo ān, kai shi pei wang", then reconfigure WiFi according to the Network Configuration chapter.
3. Create an Agent
▫️Select Development Board
On the "AI Hardware Agent" page, create according to the following steps:
- Select the device with model "AiPi-PalChatV2" and enter the device details page
- On the "Device Details Page", select "Custom Agent"
- For details, please see the next step
Custom Agent
On the "Create Agent" page, you can freely select role information, such as: nickname, role voice, language preference (default Chinese), role introduction, etc. for configuration.
🔹A. Basic Information
Basic information is automatically generated, and it is not recommended to change it
- Device ID: The unique ID of the device
- Docking Platform: Volcano Engine by default
🔹B. Model Configuration
- "Assistant Nickname": A custom nickname, it is recommended to use "Xiao An", which will not be synchronized with the "wake-up word"
- "Role Voice": The voice style of the device during dialogue
- "Voice Preference": Default is Chinese, other languages can be configured as needed
- "Role Introduction": Can define the content style of the agent, such as: personality, identity, characteristics of speech content, matters needing attention, etc.
- "Language Model": Select the type of large model, default: DeepSeek After configuration, click Create.
▫️Re-edit Agent
On the "AI Hardware Agent" page, select the corresponding device to enter the editing page.
4. Start Dialogue
- Voice Wake-up
Speak to the device: "Hello Xiao An", and the device replies "I'm here", which means it is awakened.
- Continuous Dialogue
After waking up, you can have a continuous dialogue with the device.

