Note
Note
The relevant information of the WeChat hardware platform has been discontinued, and the official does not provide WeChat-related support, please research by yourself
WeChat Direct Connect Cloud Platform LED Experiment
Download WeChat SDK source code: esp_iot_sdk_v1.5.2_wxcloud_beta.zip
1 New product ID
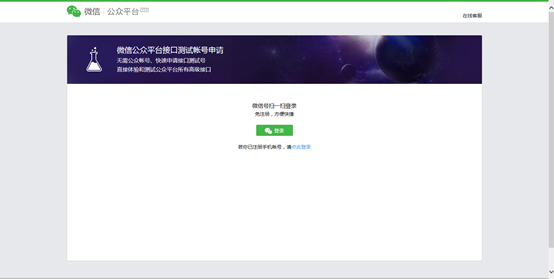
1.1 Log in to the official account backstage
Use the test account to log in to the official account background http://mp.weixin.qq.com/debug/cgi-bin/sandbox?t=sandbox/login
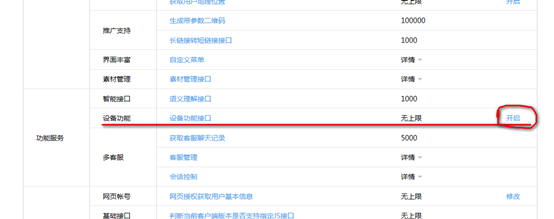
1.2 Turn on the device function
Note that the current WeChat test account is not compatible with chrome, try to open it with IE browser, otherwise there will be a problem that the setting options cannot be found.
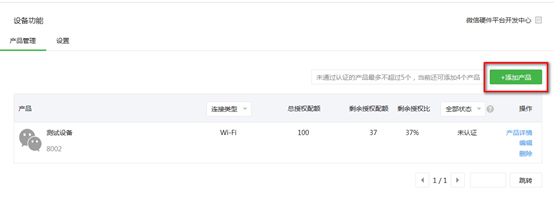
1.3 New product LED
After enabling the device function, click the [Settings button] behind the device function
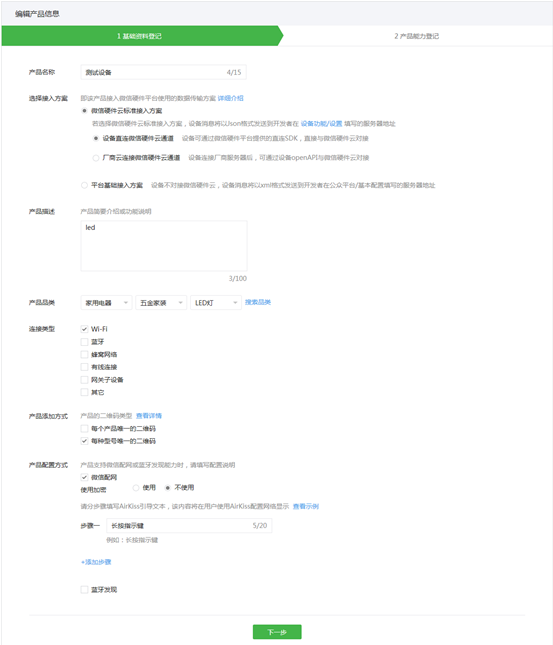
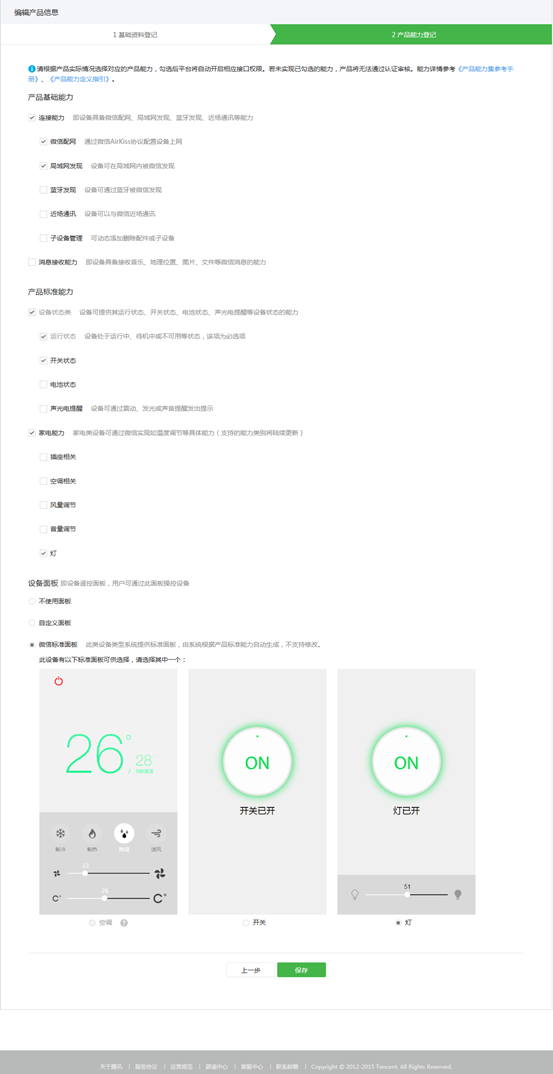
And configure the device as follows
Product capabilities need to be based on WeChat official documents: http://iot.weixin.qq.com/wiki/ new/index.html?page=4-5 for definition, here we take a WeChat standard panel as the standard, and only define the switch and brightness adjustment.
So far we have completed the configuration of the WeChat public backend.
1.4 Get a license
According to the document http://iot.weixin.qq.com/wiki/new/index.html?page=3-4-6, each device must have a license allocated by WeChat. Can run normally,
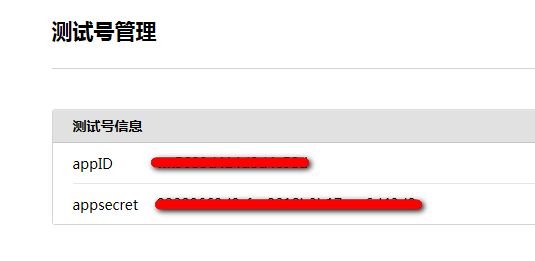
First replace the appid and secret below with the background information of your own official account
https://api.weixin.qq.com/cgi-bin/token?grant_type=client_credential&appid=APPID&secret=SECRET
Obtain a valid access_token
Then find the product ID of the official account backend,
Replace the information in the link below with the access_token and product ID obtained above
https://api.weixin.qq.com/device/getqrcode?access_token=ACCESS_TOKEN&product_id=PRODUCT_ID
Obtain the following information
Save the acquired data, the following firmware will use it.
2 Compile the firmware
Download the SDK open by Anxin,
Open airkiss_cloud.h and rewrite the license
static const uint8_t devlicence[] = “LICENCE”;
Open airkiss_lan.h and modify the following two lines of code as your actual code
#define DEVICE_TYPE “gh_804431aea205”
#define DEVICE_ID “gh_804431aea205_264891b9bd1cfbcf”
Compile the firmware, pay attention to configure the compilation options as
BOOT?=new
APP?=1
SPI_SPEED?=40
SPI_MODE?=QIO
SPI_SIZE_MAP?=2
3 Flash firmware
The firmware programming addresses are as follows:
| BIN File | Address |
| boot_v1.5.bin | 0x0 |
| user1.1024.new.2 | 0x01000 |
| esp_init_data_default.bin | 0x0FC000 |
| blank.bin | 0x0FE000 |
Please refer to wiki.ai-thinker.com for the firmware programming process
4 Configure airkiss
After the development board burns the firmware, power on again, long press the function button, the development board enters the configuration network mode, and the LED keeps changing colors.
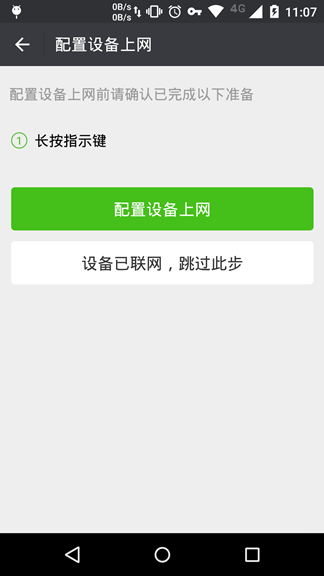
At this point, open the mobile phone WeChat, scan the product model QR code, and enter the following interface:
Click [Configure Internet Access]
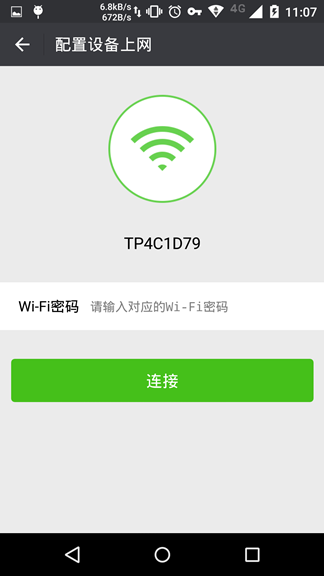
Enter the password and click [Connect] to start configuration
Configuration is successful
Figure
5 Binding device
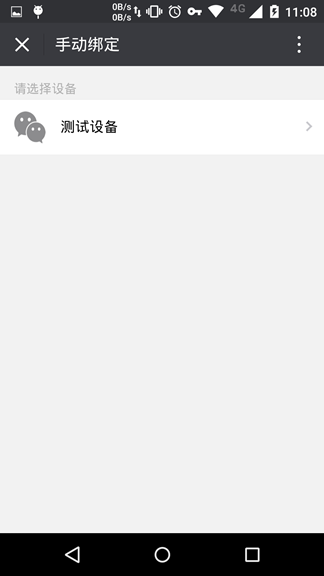
Click to return to the previous step, search for devices,
Search for the device, click the device name to bind
6 Control
Enter the official account, click on my device
Or open the URL directly
https://hw.weixin.qq.com/devicectrl/panel/device-list.html?appid=wx11f098dfa812b8c5
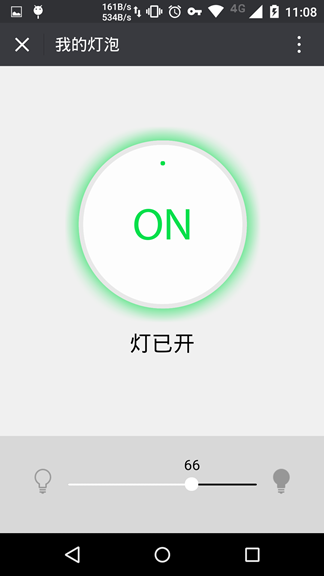
Select the device to be controlled, click the device name to enter the control interface
Click the switch, you can see the change of led on and off
Drag the slider to see the change of led brightness
At this point, the development experience of WeChat hardware directly connected to the cloud has ended.

