Please poke the full range of modules to purchase: Anxinke official Taobao shop
OneNET AT example
We use OneNET AT commands to quickly get started with OneNET, and let's demonstrate a smart bulb project.
Preparation work
Hardware: NodeMCU development board
App: android:onenetdemo_android_1.0.0_20170321.zip iOS:onenetdemo_ios_03_16.zip
Documentation: onenet_android_user_guide.pdf onenetdemo_ios_user_guide.pdf
Firmware: ai-thinker_esp8266_dio_onenet_v1.4_20160518.7z
Tools: 开发工具清单 (including serial port tools and download tools)
Register an account
Create product
After logging in to your account, click to enter the developer center:
* Click to create product
* Fill in product parameters
We choose wifi, open protocol, EDP protocol, and named it smart bulb light.
* The creation is complete.
The product ID and APIKey in the above column are two important parameters, which will be used by AT commands.
Here is a demonstration with my project parameters.
Download firmware
Use the USB data cable to connect the NodeMCU development board, the serial port configuration 115200,N,8,1, open the serial port.
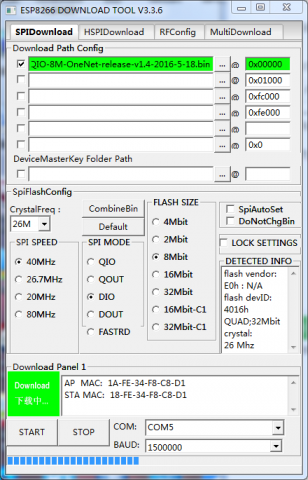
Burn OneNET AT firmware ai-thinker_esp8266_dio_onenet_v1.4_20160518.7z
Connect OneNET
* Connect router
AT+CWMODE=1
OK

AT+CWJAP="TP-LINK_9E20","admin123456"
WIFI DISCONNECT
WIFI CONNECTED
WIFI GOT IP
* Configure OneNET parameters
AT+CIOT? // Query whether the OneNET parameters have been configured
+ERR=-102 // No master_apikey
+ERR=-103 // No device serial number
+ERR=-104 // There is no project ID of the project to which the device belongs

AT+CIOTMKEYA="0sS65LxJsWcPvR8oaGmVTljCxqc=" // Configure the apikey of the bulb project
+OK=0sS65LxJsWcPvR8oaGmVTljCxqc=

AT+CIOTPID="41880" // Configure project ID
+OK=41880

AT+CIOTSN="light-56834" // Configure the serial number (Note: The serial number must be unique, otherwise it will not be registered on OneNET, you can use a random number as the serial number)
+OK=light-56834

AT+CIOTNAME="Light" // Set the name prefix for the device, you will see the device name of Light_xxxxxxxx_xxxxxxxx if the device is created successfully
+OK=Light

AT+CIOT? // Check again whether the parameters have been configured
+OK
* Connect OneNET
AT+CIOTINIT // Connect OneNET, register the device
+OK // Return +OK if the device is registered successfully, otherwise an error will be returned. If an error occurs, return to the previous step to reconfigure the correct project parameters.
                         // Note that the sequence must be unique and cannot be repeated.

AT+CIOTSTART=0 // Connect to OneNET (TCP connection), 0: no encryption.
+OK

AT+CIOTSTATUS // Query the online status of the device: device_down, device_up
+OK=device_up

AT+CIOTQUIT // Disconnect OneNET
+OK
* Send data points
AT+CIOTDAT=5,r,,240,g,,200,b,,80,w,,80,s,,1 // Send 5 data points (r,g,b,w,s), reference AT command format document
+OK
APP control
Because OneNet does not open the account system for the time being, we can only log in with apikey.
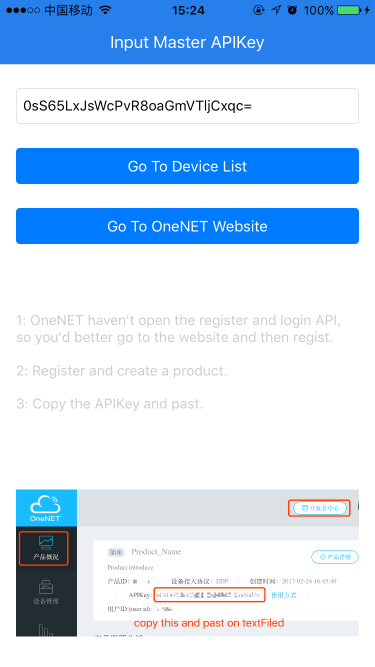
* Fill in the master_apikey of the project (0sS65LxJsWcPvR8oaGmVTljCxqc=)
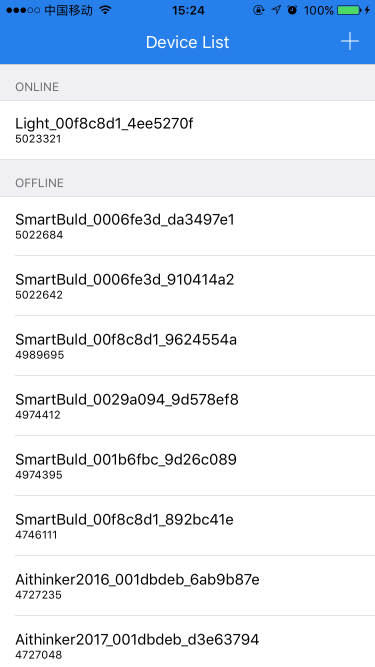
* Get device list Click Go To Device List
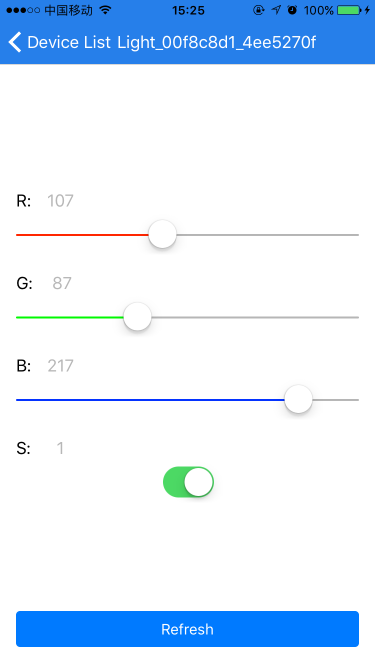
* controlling device
* Data points sent by the APP to the device
 +IOTCMD=5,r:107 // 5 means 5 characters have been received, and the printed characters are after the comma
 +IOTCMD=5,b:217
 +IOTCMD=4,g:87
 +IOTCMD=3,s:0
 +IOTCMD=3,s:1


