ESP8266 Gizwits Development Board
One. Preface
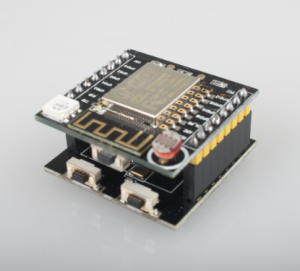
This is an intelligent hardware development kit that supports the cloud. It is the simplest and most cost-effective IoT development board in history. It does not require you to understand the complex knowledge of the network, TCP/IP, HTTP, and MQTT. As long as you know the C language, you can use Anxin Ke Gizwits SDK quickly realizes secondary development.
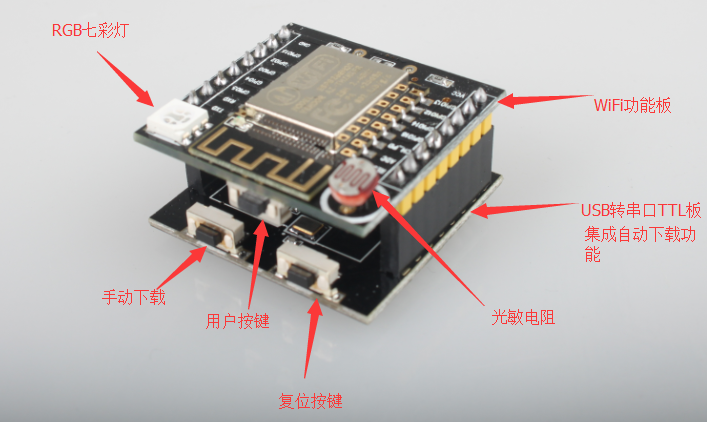
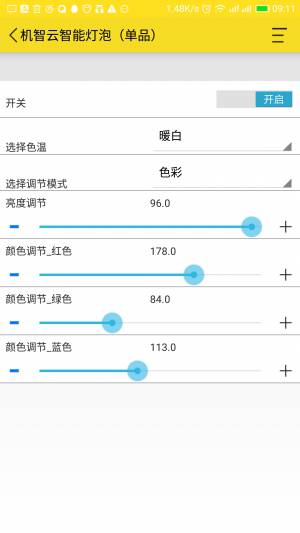
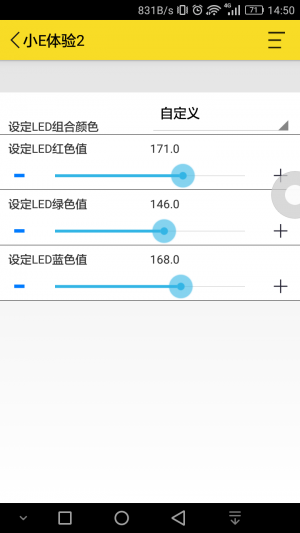
This DEMO board can use the mobile phone flow to control the onboard RGB colorful lights, and the mobile phone APP can display the ambient brightness through the photoresistor. Only need to modify the code for half an hour to make a remote control device of your own, the system generates APP (Android, IOS) for free, open the SDK, you only need to do the APP UI interface to develop into a finished product .
Two, hardware introduction
Schematic: sch.7z
Mobile app download: http://dev.gizwits.com/zh-cn/developer/resource/demo_app?protoc=WIFI (The first click to create an account, the second click to go directly to the download APP page)
Three, simple explanation
1. Factory firmware
The Gizwits development board just bought by the user should not burn the firmware. The factory firmware is demo firmware, not open source, and no download is provided again. After burning other firmware, it will not be able to burn back.
So please follow the factory firmware tutorial below first. After completing the operation, you can refer to the Gizwits firmware tutorial, and then flash the AT firmware or the Gizwits open source firmware provided separately.
2. Gizwits Firmware
This tutorial provides the source code of Gizwits firmware and how to modify the source code.
For related information, please refer to Gizwits firmware tutorial.
Four, operation tutorial
1. Factory firmware operation tutorial
Basic status:
Working baud rate: 115200
LED status: RBG and other color gradient
Description: The firmware works with a baud rate of 115200, and the RBG light color gradient will not stop after power on. The firmware will automatically enter the network distribution mode when it is powered on, and there is no need to press any buttons to make the module enter the network distribution mode. Open the Gizwits APP and follow the steps below.
Intelligent distribution network
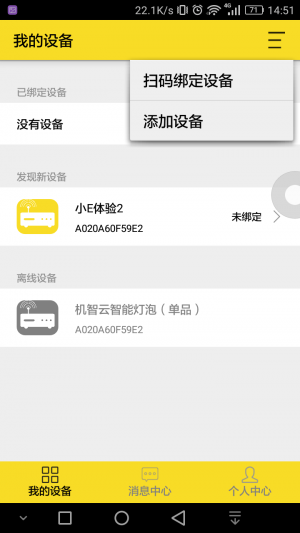
1. Open the Gizwits APP to add a device
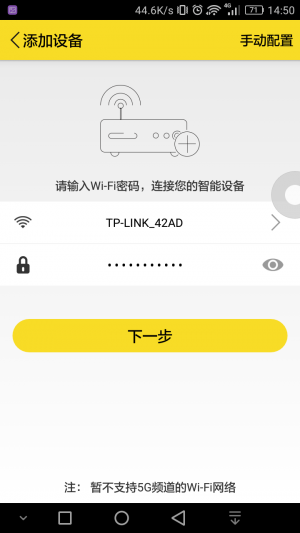
2. Connect the mobile phone to the router, enter the WiFi password, select Espressif (ESP8266 module model), check the above steps have been completed, click Next, and wait for the network configuration.
3. Click on the device to bind it to control.
2. Gizwits firmware operation tutorial
Basic status:
Working baud rate: 9600
RBG light status: when the RBG light is powered on, it is off. Long press the USER button to enter the network distribution mode. After the RBG light turns green, you can perform the network configuration steps
   To download the firmware first, please follow the steps below.
   Gizwits Tutorial: http://club.gizwits.com/forum.php?mod=viewthread&tid=5176&highlight=8266
   The serial port output information flag SC_STATUS_FIND_CHANNEL when entering the network distribution mode. When this data is received in the serial port tool, it marks the entry into the network distribution mode.
Burning download
Burn firmware source code: xiaoesmartled.rar
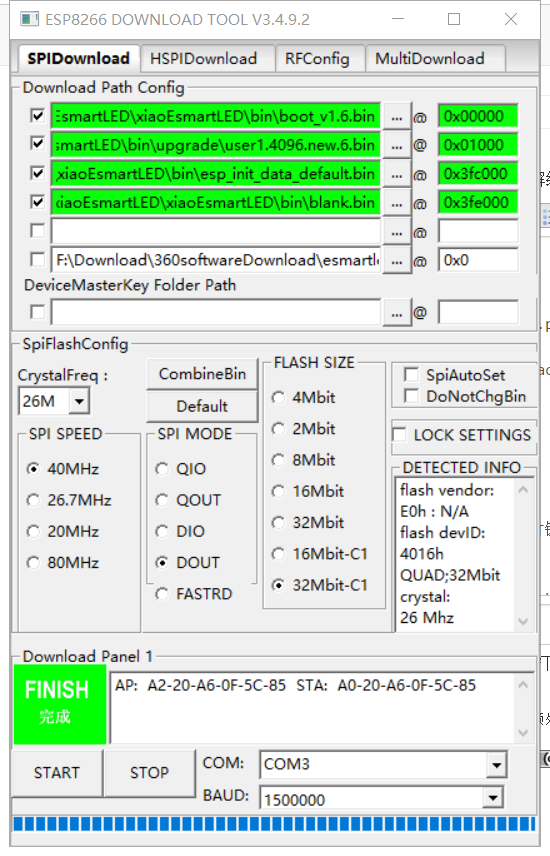
SDK firmware programming address description:
| File name | Address |
|---|---|
| boot_v1.6.bin | 0x00000 |
| user1.4096.new.2.bin | 0x01000 |
| blank.bin | 0x3fe000 |
| esp_init_data_default.bin | 0x3fc000 |
—– note! ! The firmware of user1.4096.new.2.bin is the same as the factory firmware, but the baud rate of the firmware is 9600. The source code can be modified according to the Gizwits tutorial http://club.gizwits.com/forum.php ?mod=viewthread&tid=5176&highlight=8266
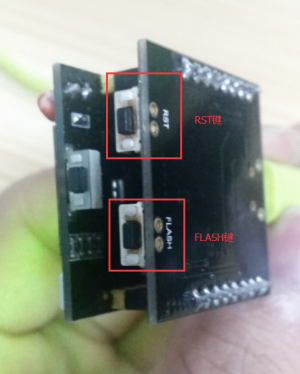
The programming method is as follows, “first press and hold FLASH, then press the RST button”, the test board can enter the UART programming state, and then click the programming software ``START to perform programming until the programming is completed . If you do not enter the download mode, repeat this step.
on the upper panel, and when the RGB turns green, release the button and open the Gizwits APP to add devices.
 ====Intelligent Distribution Network ====
1. Long press the ``USER button
2. Connect the mobile phone to the router, enter the WiFi password, select Espressif (ESP8266 module model), check that the above steps have been completed, click Next, and wait for the network configuration.
3. Click on the device to bind it to control.
